
These are the requirements.
1 fat quarter for the background for the 3 leaves
1/4 yard (.25m) of red for the 3 leaves
1/2 yard (.50m) of fabric for the side panel and the binding
1/4 yard (.25m) of black for the lettering and the sashing
Anything left over can be pieced and used for the backing. I used my left-overs as an insert for the white sides.
Yesterday I gave credit to Moda for the fabric line. After investigation I found out it is a Trendtex fabric. Sorry, Trendtex
First up are the black letters for the side panel. You can download them here. They are not reversed, so turn the paper over on your light table and trace them, remembering to make 3 of the letter "A". This is Arial Bold set at 380 for the font size.

These are the stems. Lay your red fabric down the centre and then sew the background fabric to each side of the stem. I do paper piecing for this because it is accurate! My choice.


From both the red and the background fabric cut:
6 - 4 1/2" squares of each colour

Lay the red on top of the background square and draw a line diagonally from corner to corner

Pin the two pieces together

and then stitch on BOTH SIDES OF THE LINE YOU HAVE DRAWN

Press your stitching being careful not to crease the fabric.

Cut on the line so that you now have two half square triangles.

I used my 3 1/2" square ruler and my rotating cutting mat to trim away the excess.

When you are finished you will have 12 half square triangles that will form the points on your leaves.

From the rest of the red fabric you will need 9 - 3 1/2" squares
From the background fabric you will need 3 - 3 1/2" squares
Using this photo as your guide, make your 3 leaves. Two will be the same, the one in the centre is opposite. I laid mine out on my work station and then pinned them together. I double checked to make sure they were right before I sewed them.

From the black fabric, cut your sashing 1 1/4" x 28 1/5" the length of the fabric so you don't have to join it. The sashing between the leaves was cut the same width. It should be 1 1/4" x 9 1/2".
After you have cut the sashing you can make your letters for the side panel.
Sew the sashings between the three leaves and press. Measure your length. Mine was 28 1/5"
The side panel was cut 8" x 28.5". Always measure your work to make sure you are cutting the proper length.
These are the leaves that I stitched into the centre of each red leaf. I used my walking foot and stitched right through the paper. If you do it this way, use a light weight paper, not the bond paper you normally print on. I find graph paper works well. Use a smaller stitch so that it perforates the paper for easy removal.

I used up my fabric when I made my backing. I am determined to not have a large stash ever again.
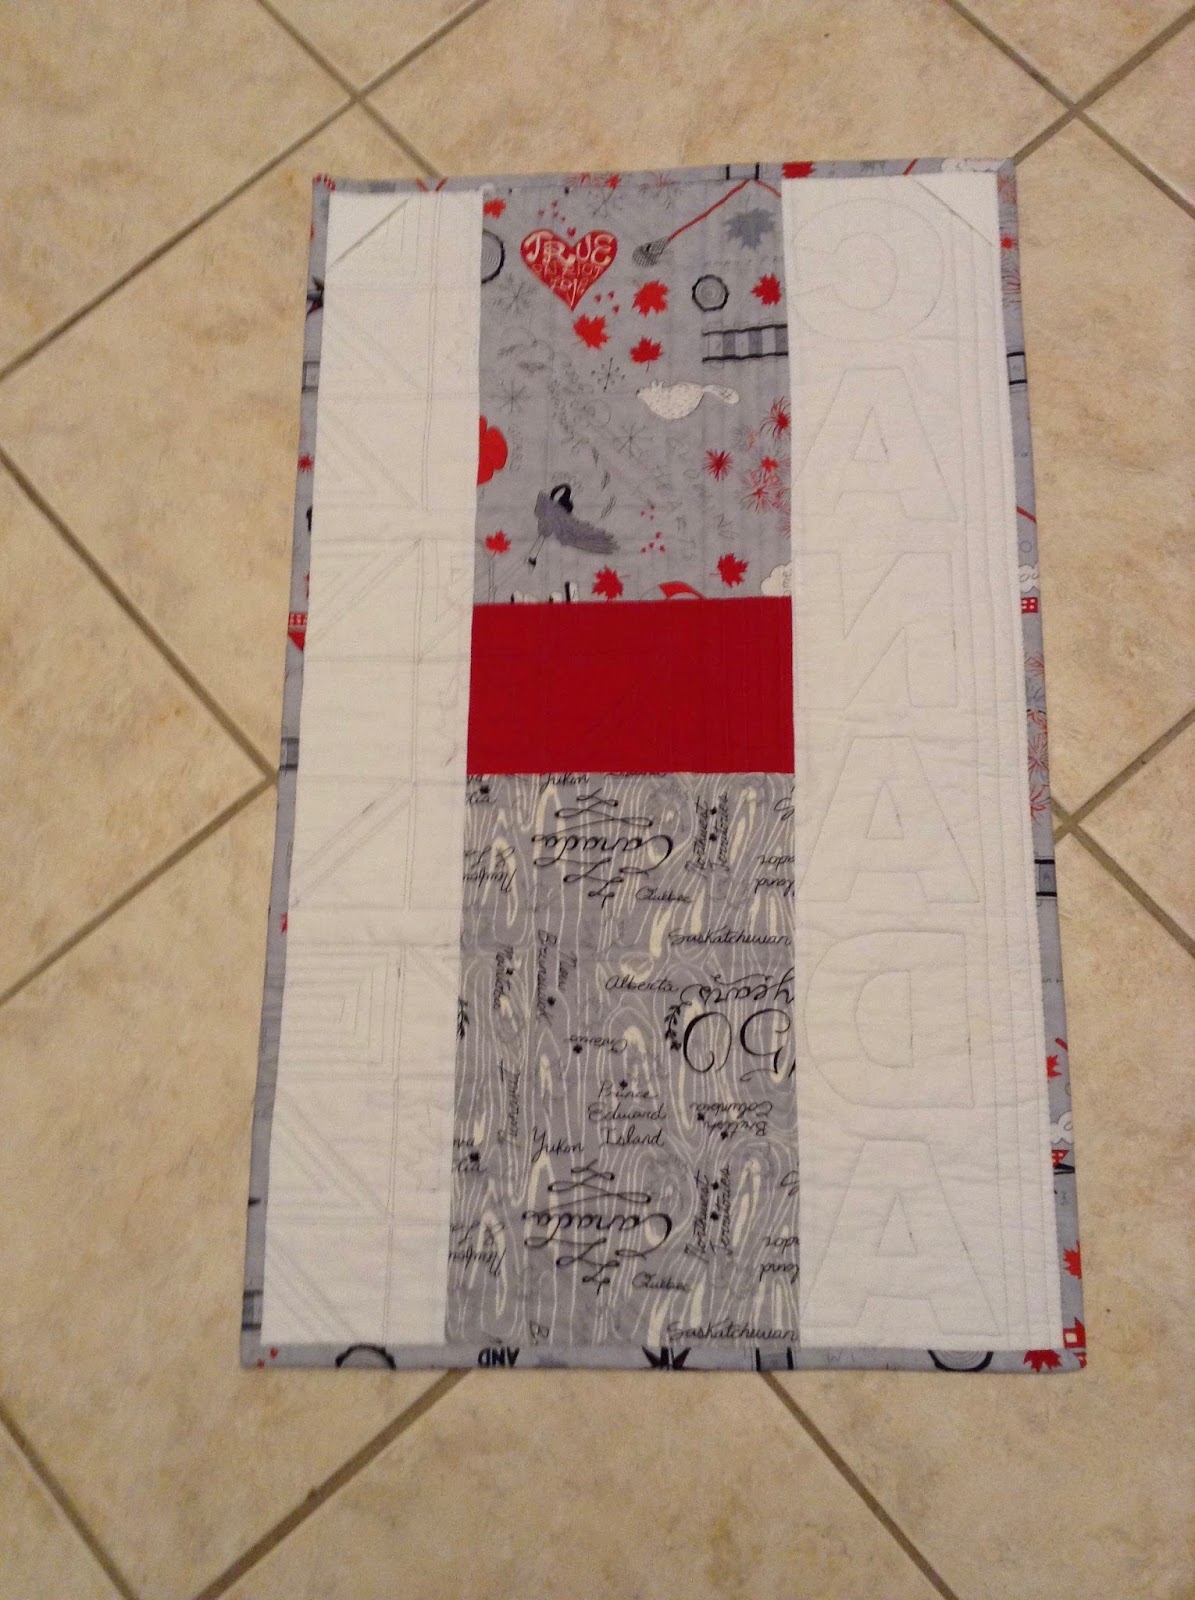
My banner was done with only my walking foot. There is no free motion on this banner at all.
I didn't use my long arm.
This is a doable project for everyone.
So sorry this is late posting today. I went out this morning and forgot all about it. It's the age, folks, just my age!!