
I have every single one of my pillows done for Christmas 2015. Yes, that is what I said. I knew what I was giving all the girls in the family and January, February are my hand work months. I just found out that February is also National Embroidery Month so for once I was in tune.
Download a pattern.
I found this on Pinterest, and the link listed was here:
https://picasaweb.google.com/geraldinapinturadecorativa/STARLIGHTSKETCHBOOKVOL1?noredirect=1#5091211040122018178
I found this on Pinterest, and the link listed was here:
https://picasaweb.google.com/geraldinapinturadecorativa/STARLIGHTSKETCHBOOKVOL1?noredirect=1#5091211040122018178
 Iron white freezer paper to the back of your fabric and trace the design. I use either a brown or red Pigma Pen......size 05. It is the right size for my eyes, even when I sit under an Ott light.
I then place a piece of batting in behind the fabric. I used creamy muslin for all the embroidery. I had lots in stock and I knew it would work as I've done it this way before. I do use a hoop when I do my stitching. I just feel more comfortable using one.
Do all the embroidery work. I used a selection of stitches on each piece. I don't know what any of them are called except for the french knot. (Okay, I went and checked.....running stitch and outline stitch and then my own stitch for the snowflakes.)

I have boxes and cans of crayons.....all Crayola! Manufactured right here in Ontario

I did a blog post here about how to crayon, so I'll just refer you back to it, if you need help with it.
This time once everything was crayoned, I went back and stitched the snowflakes on the scarf and hat. I think I like this method of doing it better than the first few pillows I did, when I did all the stitching first.
Once done, I pressed the wrinkles out. Lay a piece of paper towel on top of the crayoning and using a hot dry iron press so the waxiness of crayon adheres to the fabric.

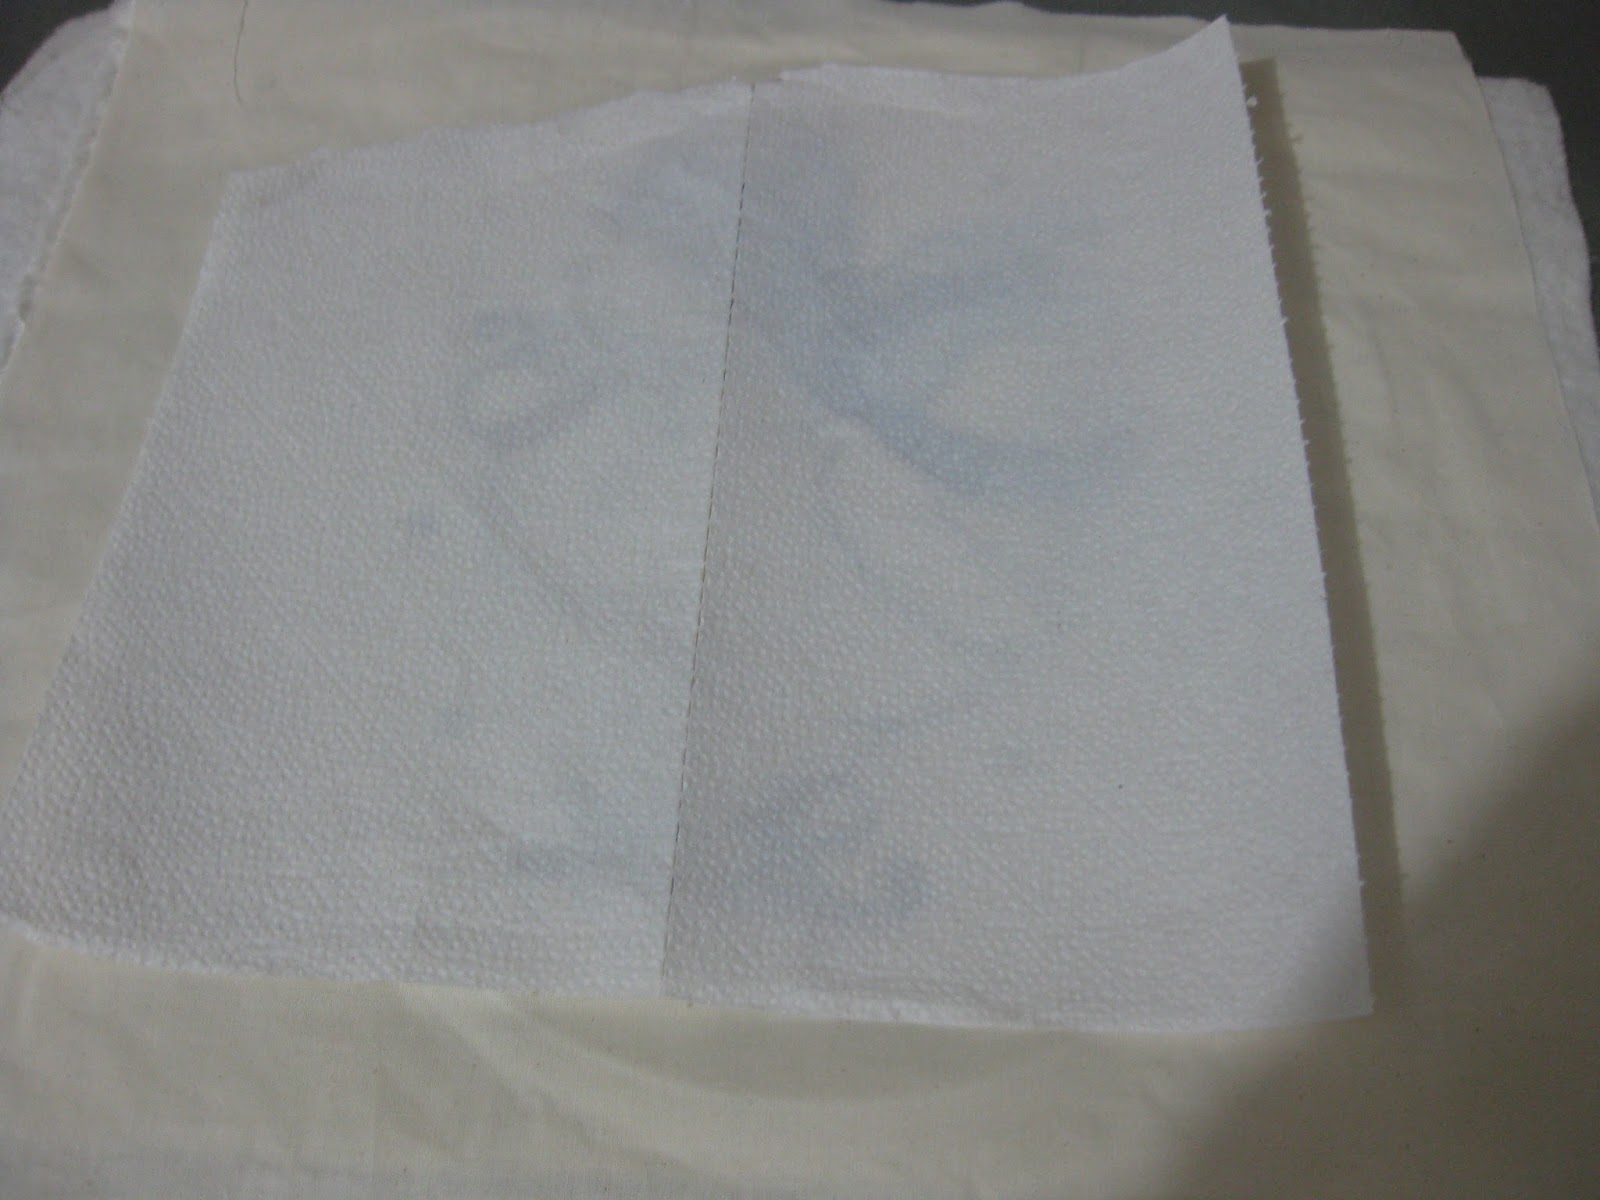
Flip it over onto a lovely big towel and press again onto the paper towel.

See the colour that came out onto the paper towel? That is normal

Trim away, add your borders.

Make your backing with or without a zipper. I do love zippers ~~ not those envelope backs ~~ so I always put one in. I use my walking foot when stitching them in place. It works beautifully.


Here it is.

Yesterday I introduced you to "Chunky"
so today
here is "Fluffy".
It has been so cold the squirrels have had their tails up and over
to protect them. An old Indian tale tells us that if a squirrel's tail is extremely full in the fall
we are in for a cold, snowy winter. Guess that's right!
