

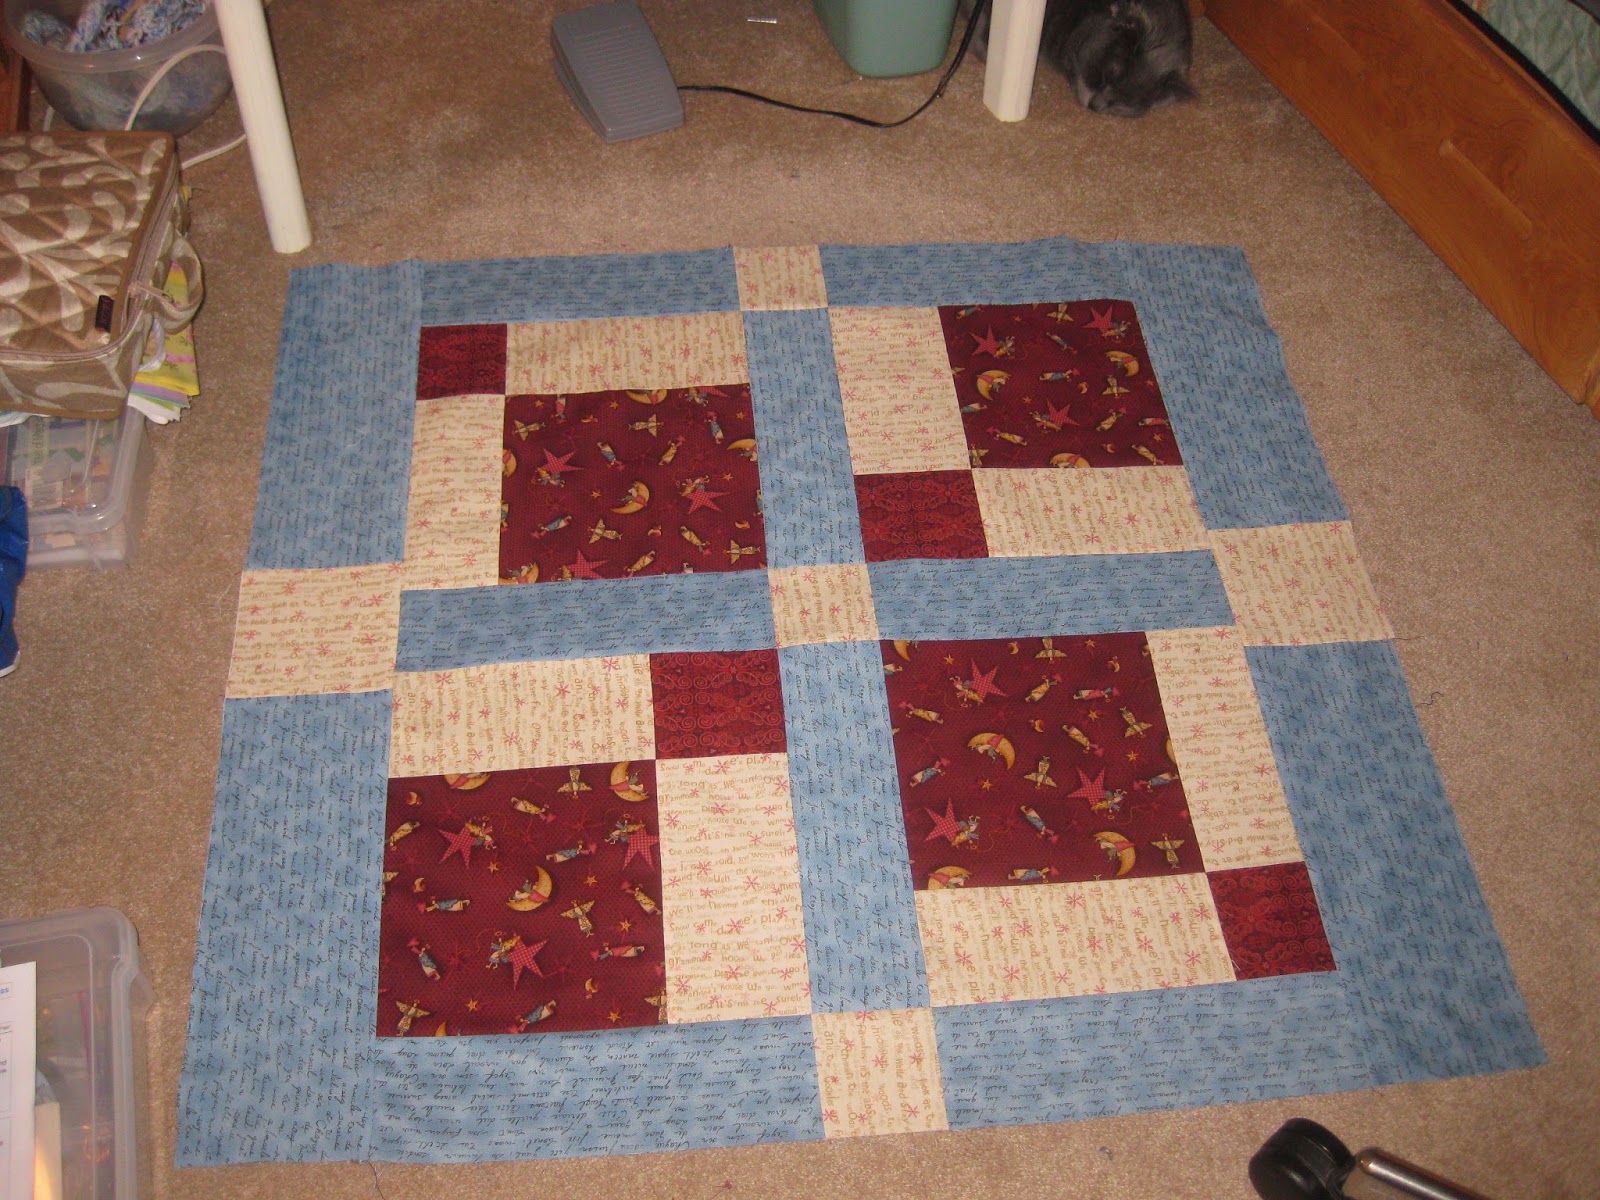
I then added a blue border all the way around.
Two sides were cut 3 1/2"
and the other two sides were cut 5"
Then I went back downstairs and started
with the cream
only to discover it had already been cut into
3 1/2" strips
I subcut to fit the four sides

and then I cut the red.
I didn't have a lot in stock so I thought I would go this
far until the store re-opened after their holiday break.......and then I changed
my mind!
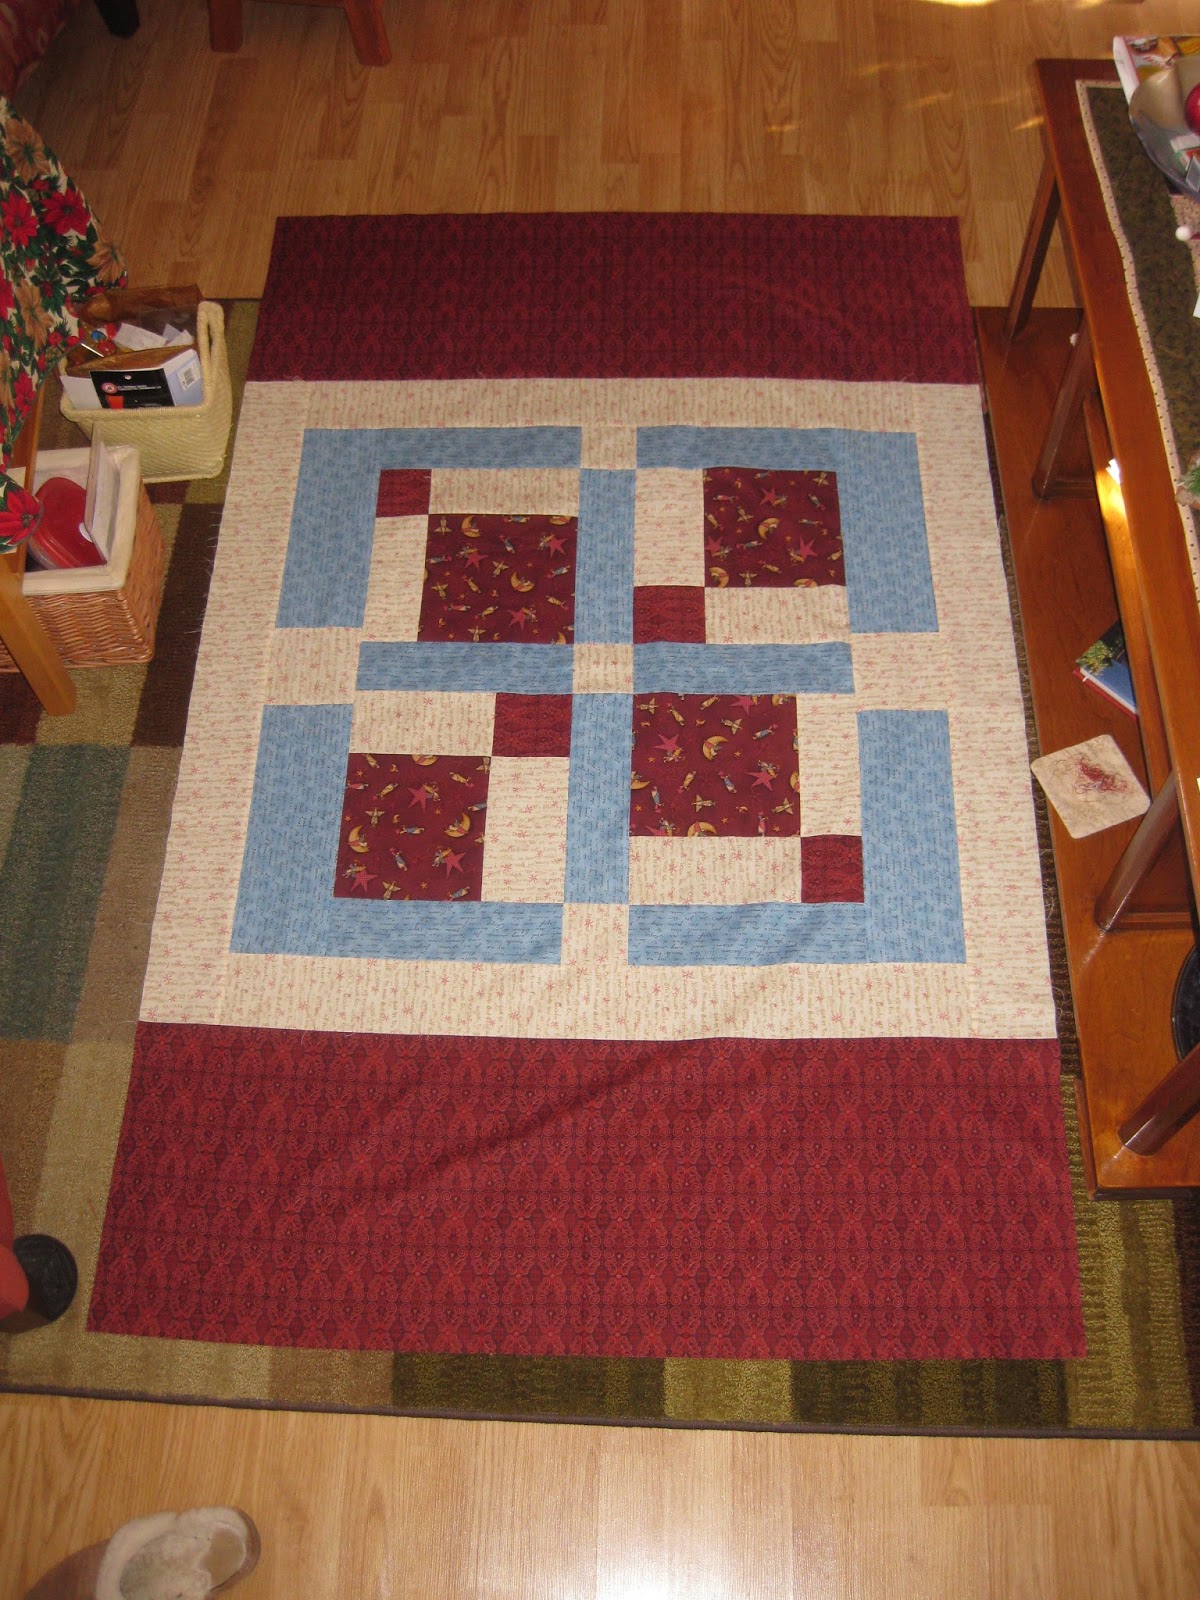
There was one piece of the blue left on the cutting table, so I decided to use it up. It measured a little
over 9", so I cut it in half and then to the length. I added this just in case I made a mistake when adding the final two borders.

Before I packed everything up, I made myself some notes. I am going to try and put this into practice this year. Measure everything.....the front, the back and if I need more fabric figure it out and put it on the post it note.
It should save me time.

I made the little collage of photos on
I had some fun while Karl made the coffee!
TIP:
Making up backings is the best way to get rid of your stash. You don't have to buy the "backing" fabrics that stores carry. I have found I have saved a lot of money doing it this way.
It isn't a problem keeping it straight on a long arm machine either. I've done it myself and Jane has never had a problem. I'll get Anne's advice when I drop this off to her.
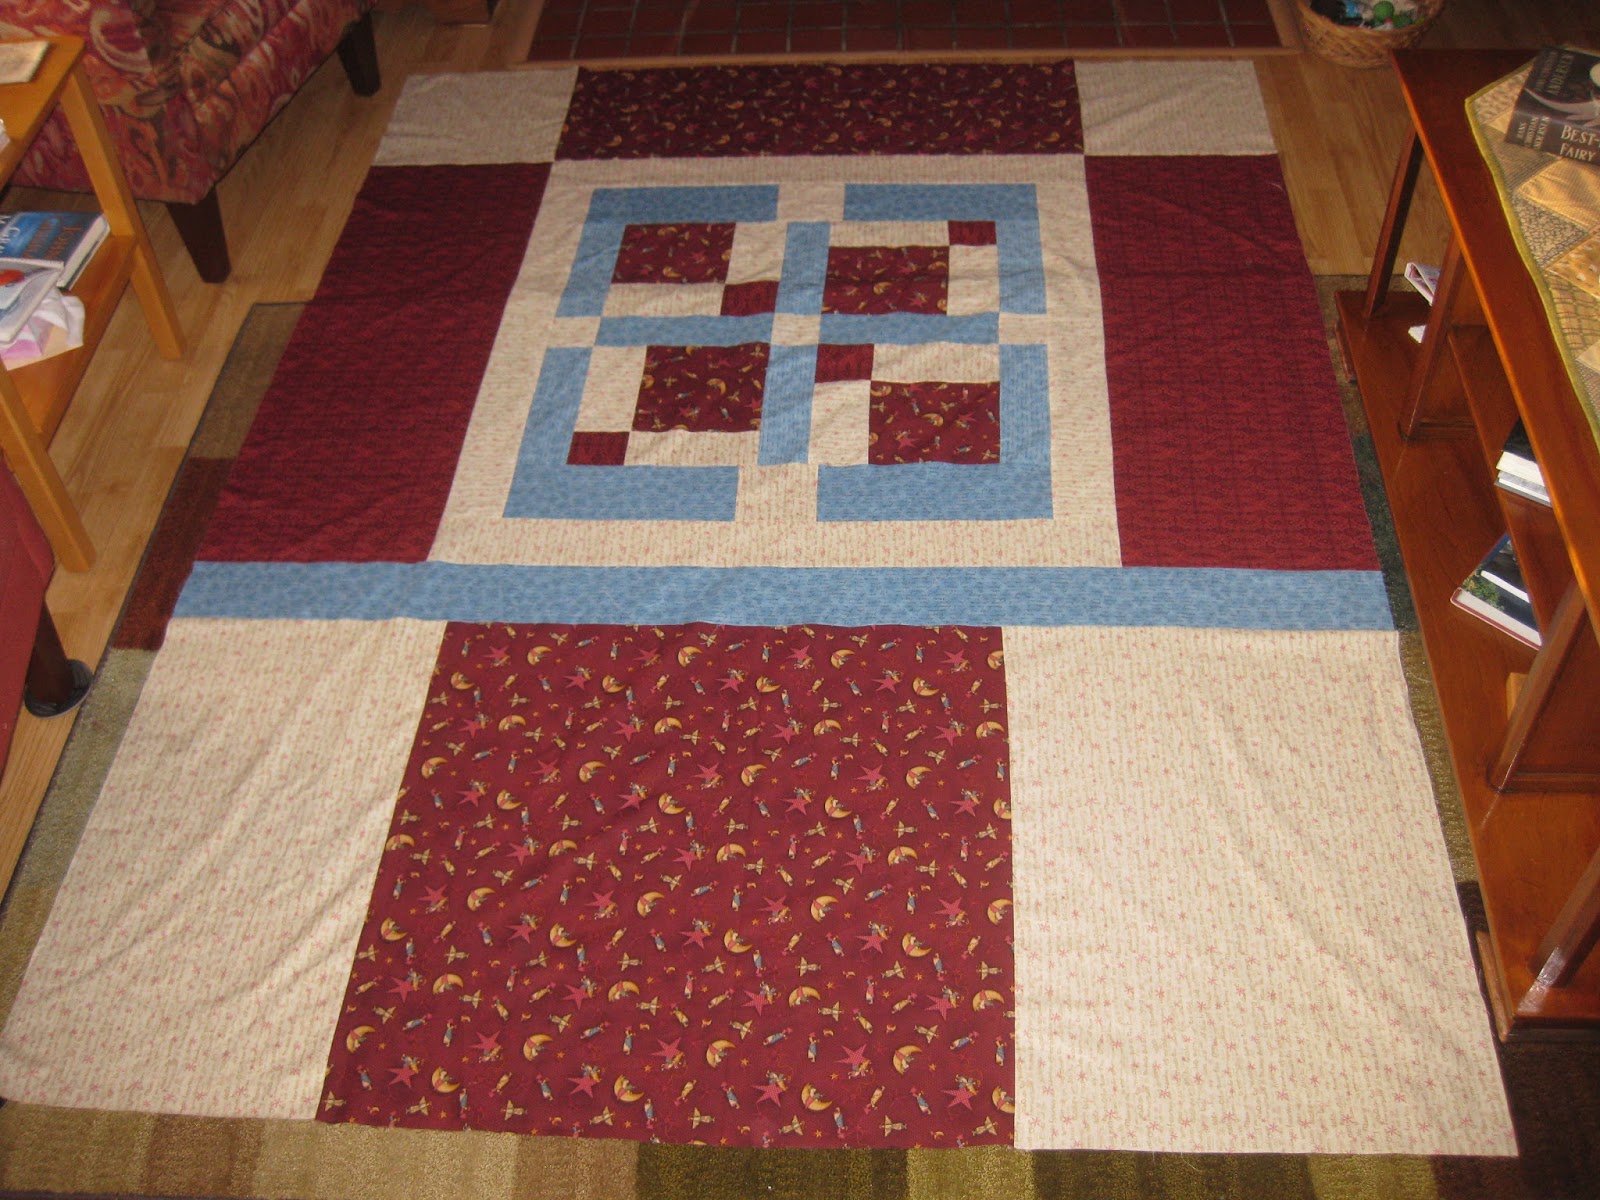
Okay, it's done but not before more angst. I will treasure this tablecloth for many, many years. I didn't buy enough fabric....the red, not the cream. I bought the end of that bolt and I'm glad I did. Here it is......
it is a whole slew of inches longer than it needs to be. I'm not cutting it off, I'll just mess it up!
Je suis Charlie!