
I took a design I saw on the web and thought Easter chocolate. And who delivers that chocolate???? You got it!!! The Easter Bunny.
These are for our table and I designed them, so you get a PDF as my Easter gift to all of you.

I pulled fabrics from my never decreasing stash for these. You could use fat quarters to cut your strips. I cut mine 2 1/2" x 17 so I could trim back when all the stitching was done. I used Duo-Fuse for the batting so I could fuse the backing on and not worry about puckering.
I started at the TOP and worked my way down. You can use one fabric if you choose, but these were designed to use a separate piece at the bottom.
 I pressed the first piece in place and then added the next 4 strips. I pressed them in place after I finished each row. Once the rows were in place I set it aside and put the rabbit together.
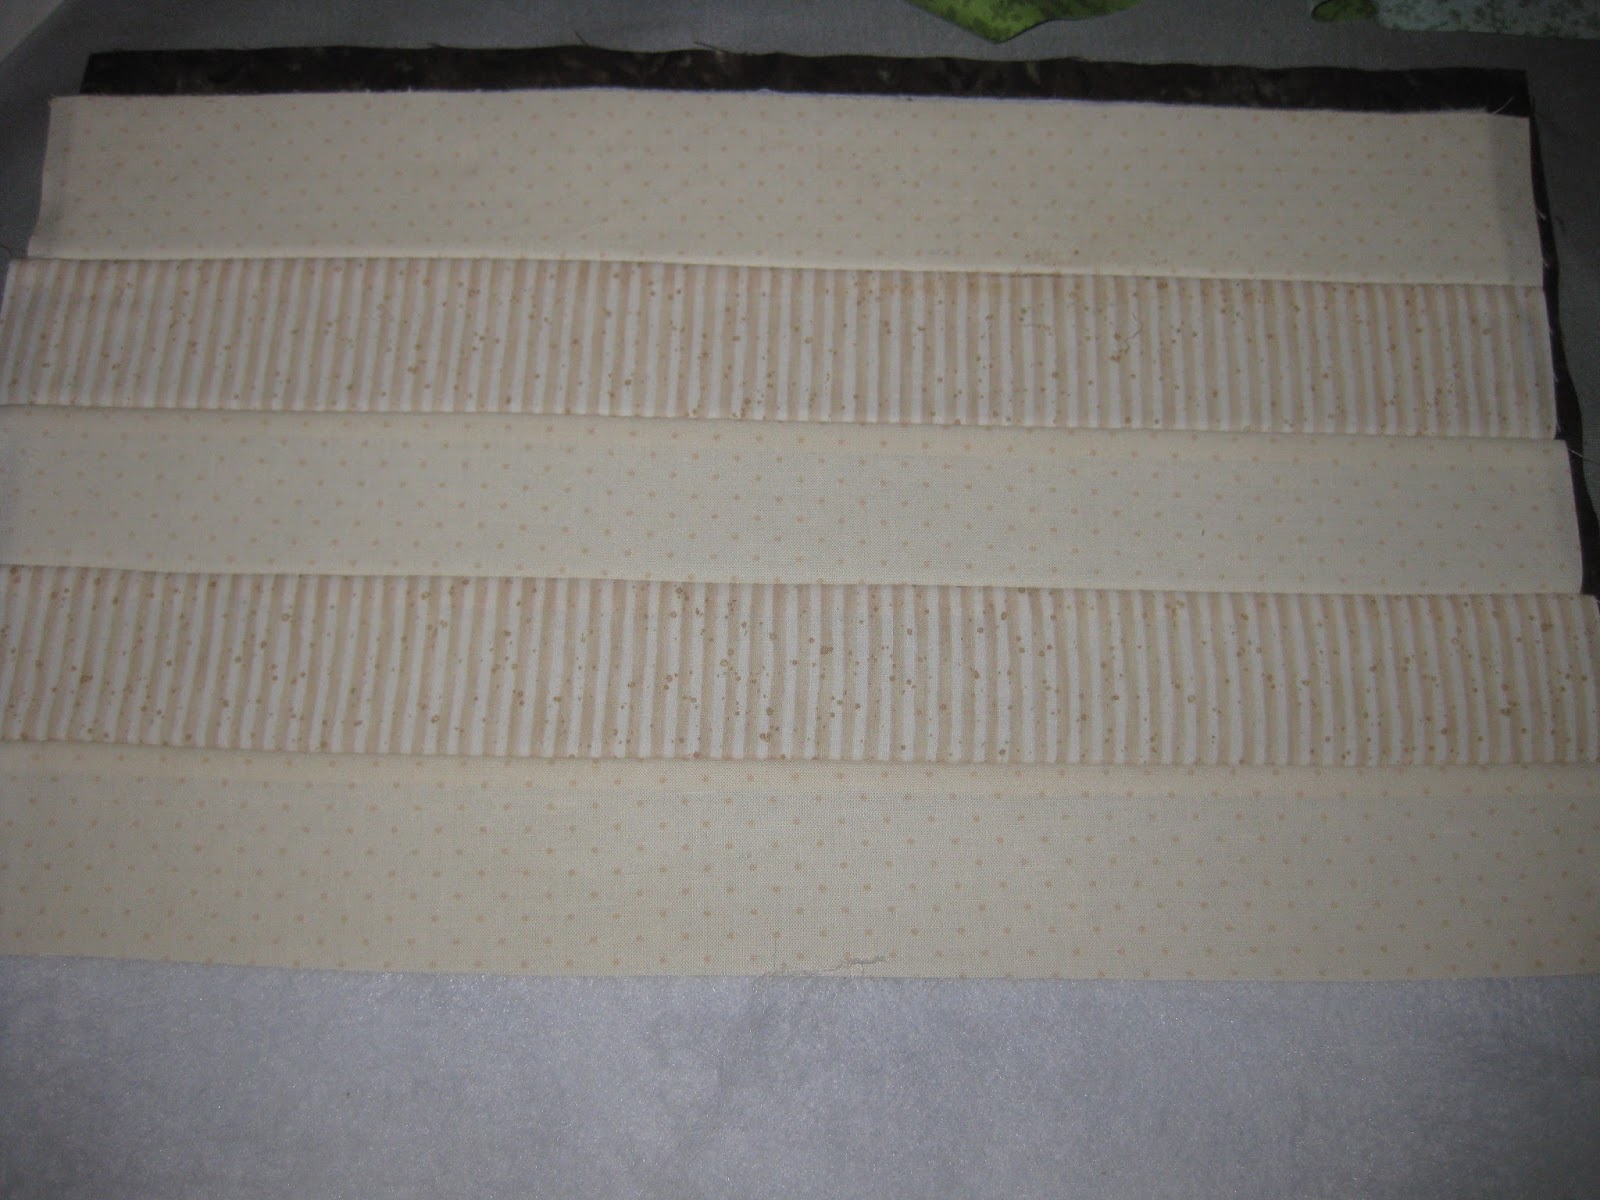
The rabbit is placed on the background before you put the "grass" on. The pattern allows for the 1/4" seam allowance.
Once the rabbit is fused together, place it about 2" from the side of the mat.

You can then add the bottom strip.


I'm sure Karl will not be amused with the bow, but it adds something to the placemat. They are really easy to make. You cut a piece of fabric 2 1/2" x 1 1/2", gather in the centre, wrap the thread around a couple of times and stitch in place. That's it.

The PDF's are here and here. I reversed the pattern for you. I do find it easier to press the fusible web to the back of the fabric, cut out the templates and trace around them, so I suggest you run them off on card stock instead of paper.
