
gift cards to the grands. I have no idea what they like or don't like, as I'm not up on the "trends" of today.
The only thing about giving a gift card is the presentation. An envelope just doesn't cut it for me. I've put them in large boxes buried under socks or whatever, but this year I'm also giving their ornament and gift card together.
For years now I've given a homemade ornament to the grands. As you know my girls get their snowmen. The boys? Hummmmmmmmm, let's not talk about that, okay?
This year is the year of the stocking! I used a brand new fabric that just came in the door from the Fat Quarter Shop, located in Texas. It is from the Aspen Frost line by Moda. Beautiful snowflakes on a not so white background......almost a very soft turquoise/green.

The rest of the fabrics came from my stash and they are from an old Nancy Halvorsen line. I have to make 6 stockings (I keep one) and each one will be different. Deciding who gets which one will be the problem.
I cut out two stockings from the main fabric, two from the lining, two toes (one and one reversed), two heels (same thing) and two trims for the top.
To cut the trims I cut one piece of fusible web and then cut the two pieces from that one large piece. It is much easier than cutting two pieces 1 1/4" x 4". Trim away the ends if your fabric is too big.


Fuse your pieces to the stocking pieces and then lay them on top of a piece of batting. I pinned around the edges to hold them in place and then stitch them down -- right through the batting -- with a blanket stitch.

When I was finished I trimmed away the batting.

You will need a hanger, and I used a piece of perle cotton cut 6 1/2" long. I folded it in half and then tied a knot. As you can see by the photo, I placed it right at the trim on the stocking.
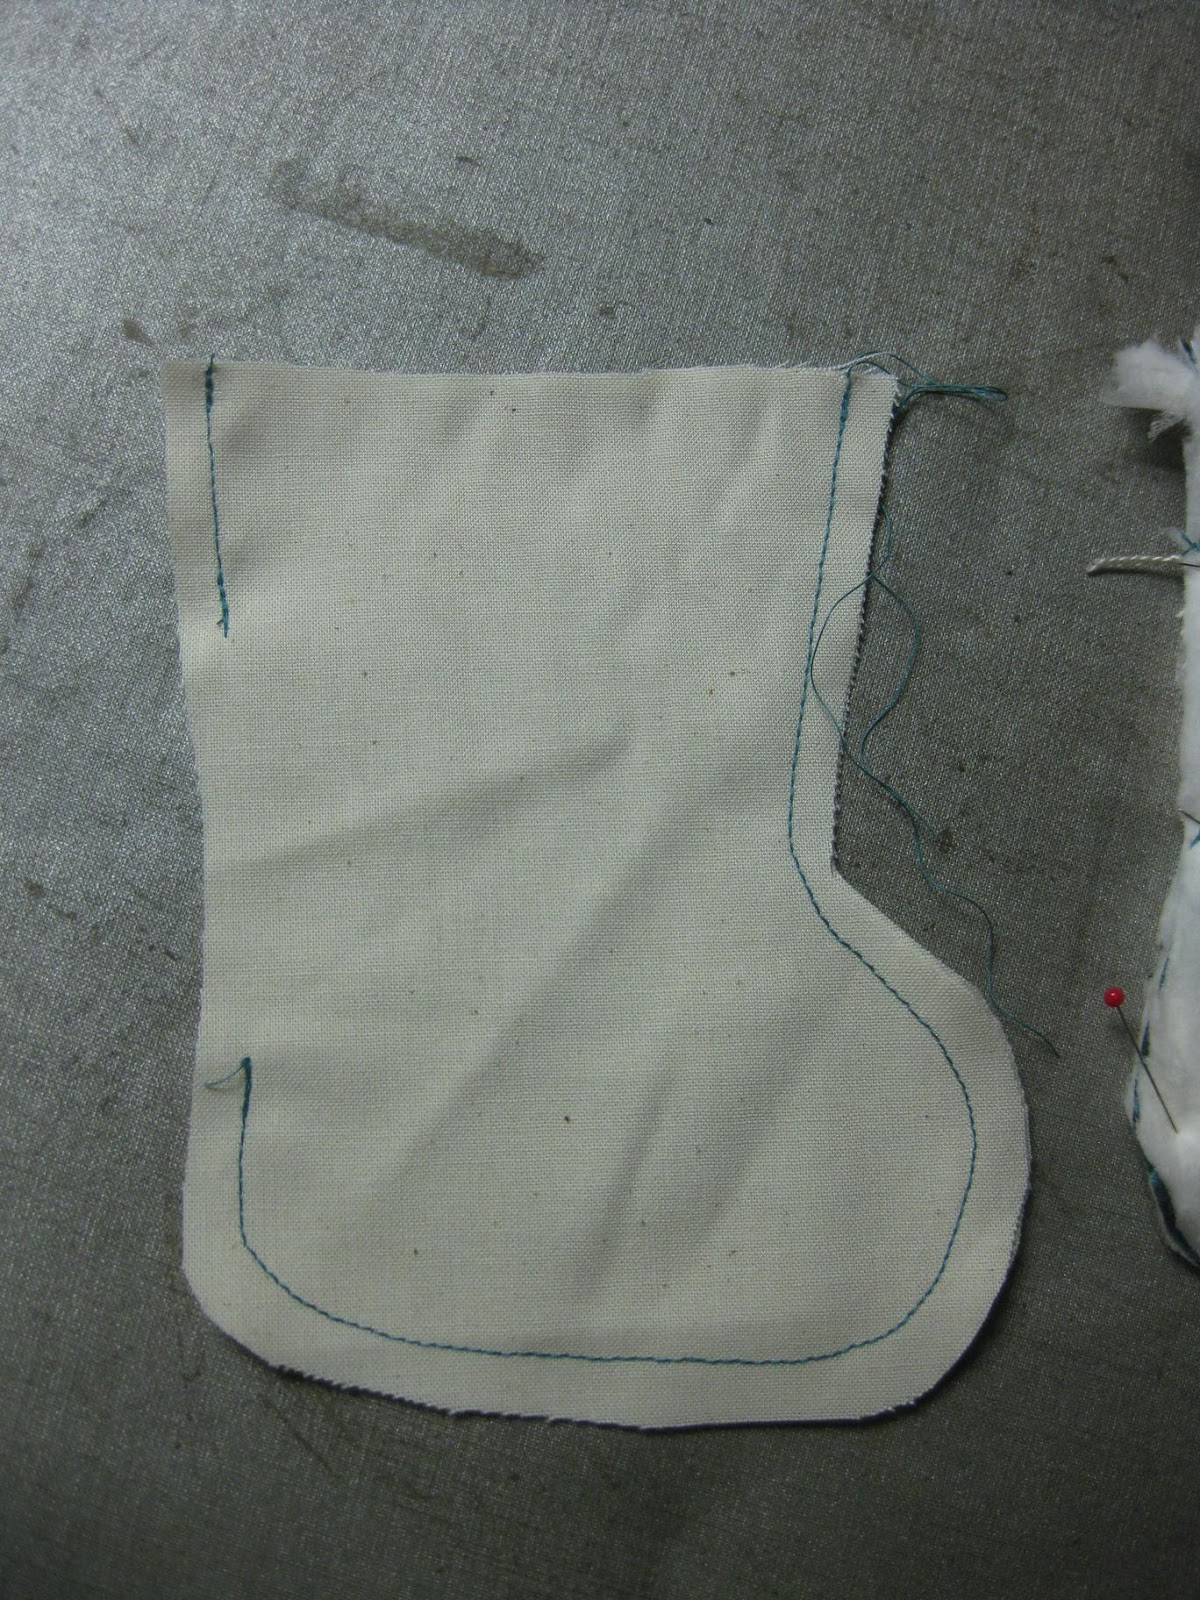
With right sides together I sewed the two stocking pieces together.

I did the same with the lining although I left an opening for turning the stocking right side out when I was done.
Turn the stocking right side out and tuck in inside the lining with right sides together!

Pin around the top of the stocking and the lining and sew them together

Pull the stocking out through the opening you have left and then

stitch up the opening. Tuck the lining inside the stocking and press the stocking well, especially at the top where you have turned it.

I made 6 of them. One I'll keep here. I think I know who is getting each one. I know I'm keeping the dark one. That is one of my favourite pieces of fabric.
I still have to write their names inside and the year but I can do that quickly one night while sitting in front of the television.
Here is your PDF for the stocking pattern.