
Last May four of us trekked up to St. Jacobs

to shop at a merchants' mall. We went to a quilt show too, but hit the merchants' mall first. We have our priorities.
While there I purchased some Amy Butler fabrics. I have no idea why as her fabric is not really my style. Now I have to do something with them. First of all I had a problem with the fat quarters I bought.
In Canada, we sell fabric by the metre, therefore, a fat quarter is suppose to measure 20" x half the width. These were cut based on a yard........18" x half the width. I was going to make a casserole cover out of three of them, but I needed a 19 1/2" square. I now have decided to make placemats. I scanned the fabrics into the computer so I could do something on EQ.
I like these three
I really like these three!

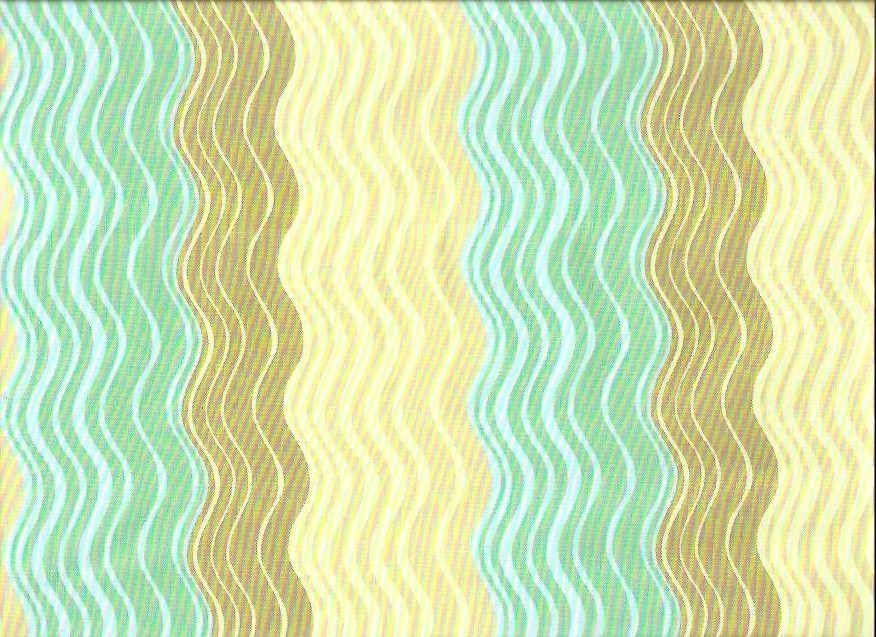


(These were cut 3 1/2" x 18")
 Then I placed the last strips in the same manner as the first two. They were cut the same size 3 1/2" x 18".
Trim the placemat to 11 1/2" x 17 1/2"
THE BACK:
I measure the back 1" wider and 1" longer than the front. I crease (with my iron) down the centre with the fabric right sides together.


I then lay the back on top of the front, right sides together. Now I sew around the entire perimeter of the placemat.
I snip the thread at the start and end of the basting, remove it and then turn right side out. There is a small opening at the back that I hand stitch closed. I press the placemat very well with steam and then
I snip the thread at the start and end of the basting, remove it and then turn right side out. There is a small opening at the back that I hand stitch closed. I press the placemat very well with steam and then

stitch around the perimeter with matching thread. I made two placemats and two coasters from three fat quarters and then used up the rest of the fabric for a "centre" placemat. I had to use a different backing on this one.


