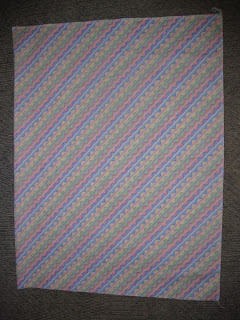
When the heck did those prices rise? Have I been sleeping?
I decided with all the fabric I have that I could just whip up a pair. This is really one of the easiest things a body can do. The particular one I'm going to show you was made for a granddaughter.
I used only two co-ordinating pieces of fabric. I had fabric that I had ordered from Hancocks at $4.98 a yard and the solids had been on sale fo 20% off. They looked good together so I started cutting.
I laid the main fabric on the cutting mat and cut the length to 26".
After cutting, I folded the fabric so that it was a rectangle (13" x W.O.F.) and I could handle it better on the cutting mat. I gave it a quick press with the iron, placed the folded edge on the 0 (zero) marking and then trimmed the fabric at the 20 1/4" line. When opened up, the piece measured 26" x 40 1/2". MAKE SURE THE FOLD IS ON THE 0 MARK! CHECK TWICE.
Then I cut what I'm calling the cuff, 9 1/2" x 40 1/2".
I then took both pieces to the sewing machine and sewed the main fabric (from now on called the case) RIGHT SIDES TOGETHER along one short edge and then down the open long side, using a 1/4" seam allowance.
I sewed the cuff on the short side 1/4".
 I have a serger so I finished off the edges. If you don't have a serger you can overcast the edges. I recommend doing this extra step as cotton will fray.
Once these are sewn, take the two pieces pin the RIGHT side of the cuff to the WRONG side of the case , butting the seams. Sew the two pieces together. Once that is done, take them to the ironing board and press the seam in the direction of the cuff.
 , butting the seams. Sew the two pieces together. Once that is done, take them to the ironing board and press the seam in the direction of the cuff.
Fold back the unfinished edge 1/4" and pin in place. I then basted with thread and gave it a really good pressing.
Now fold this edge in half laying the edge just over the stitching on the right side and pin in place.
To add a bit of zing to the pillowcase I added wide ric-rac. It is bright yellow and makes the yellow pop in the print.
 I cut the ric rac 40 1/2" and then sewed the two ends together with a 1/4" seam allowance. I then pulled the finished pillowcase over the end of the ironing board and gave it a good pressing. I took my large ruler and laid it along the edge, the 3 3/4" mark resting on the edge of the cuff.
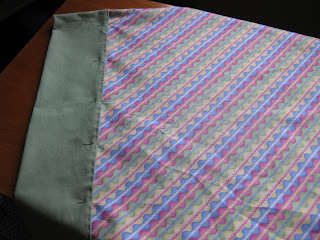
Then I pinned my ric-rac down. I took it to the sewing machine and stitched in place using a small zig-zag along both sides. It was a bit time consuming but I think it is worth it. I am contemplating buying some small pink zig-zag and sewing it down through the middle of the yellow the same as the print has it. Here it is!
1/2 a day from start to finish and at a fraction of the price of a store bought case.


