
I like to make my pillowcases on the serger. It is fast and all those little feathery things are not left on the pillowcase when I make it the old way with french seams. (I know some of you are going to object to me saying the "old way".)
Step by step.....here we go.
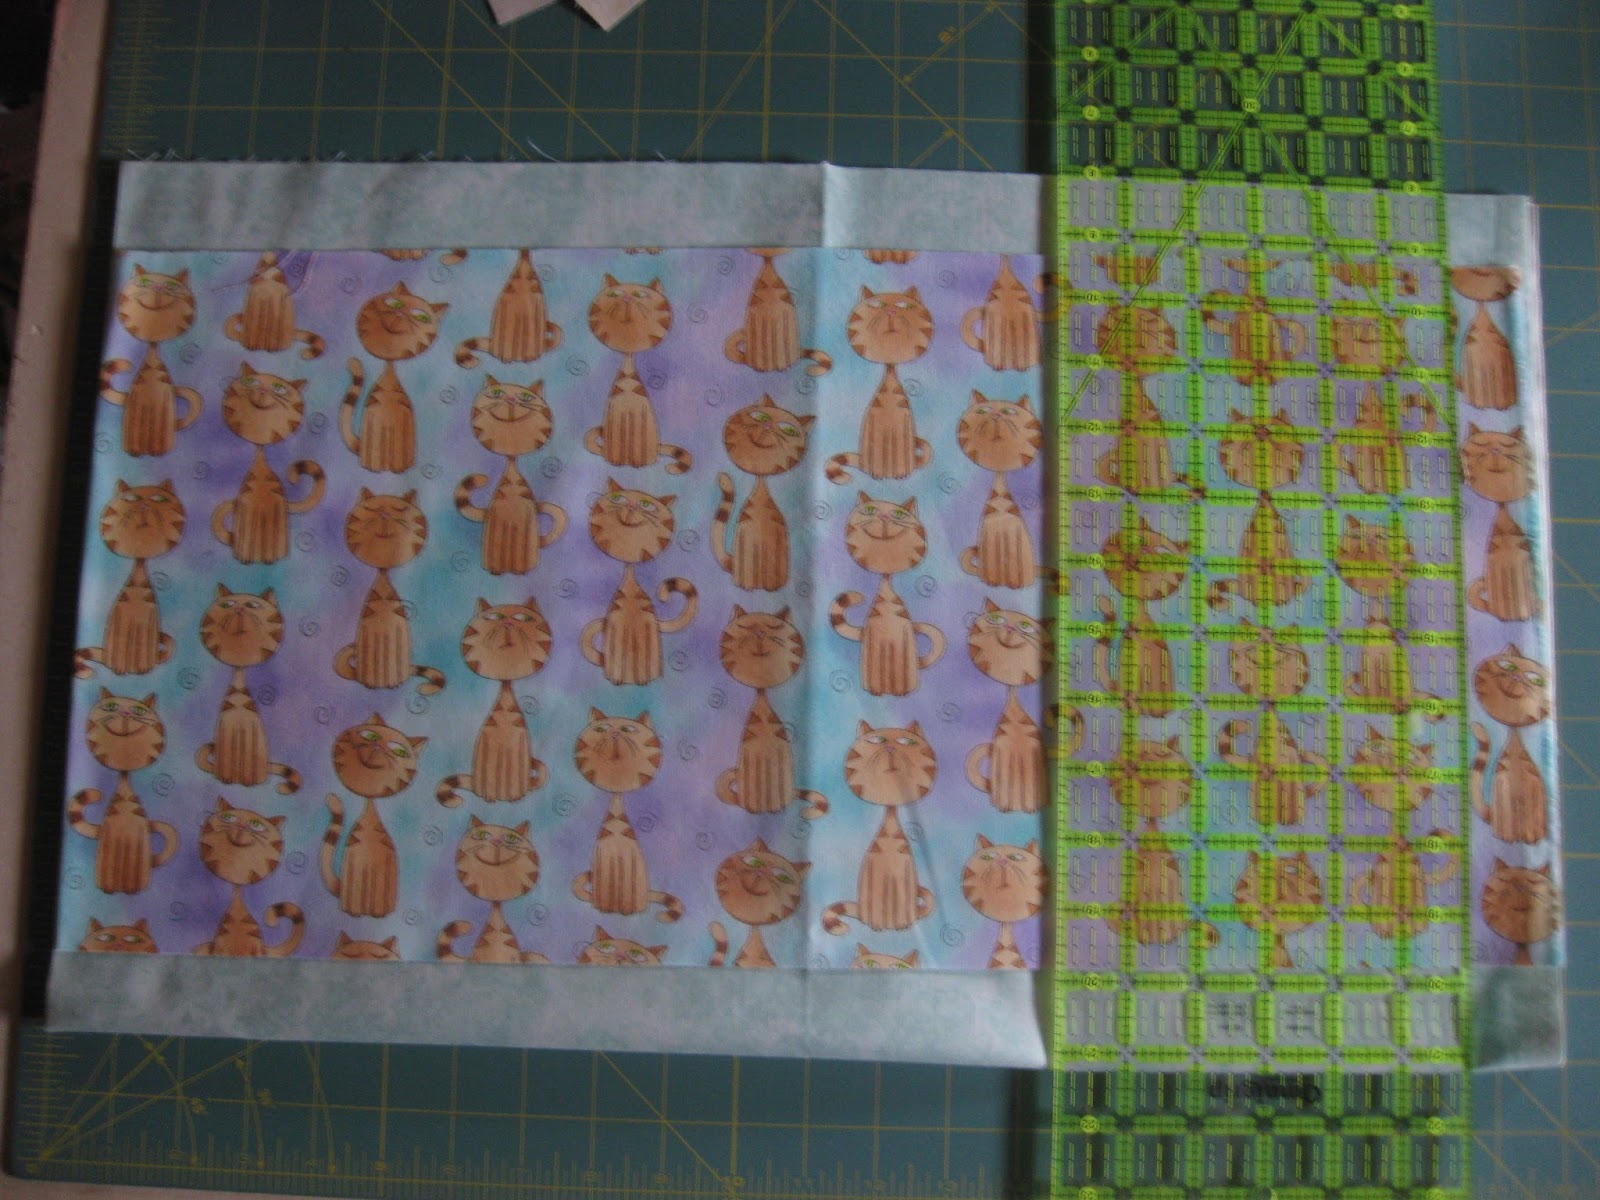 After I have cut the length of the body and the cuff I lay the cuff piece on top of the body piece and cut both at the same time. I leave them folded in half and pull that folded side over to the "0" mark on my cutting mat. I lay the ruler on the 20.5 mark on the mat and zip goes the rotary cutter. If I have an insert piece I place that on the body of the pillowcase too. I don't stack it on top of the cuff, just on the body piece. Too many pieces when stacked together can cause inaccurate cutting.
I'm a bit fussy when it comes to directional fabric. I like the -- cats in this case -- to face out to the edge, not in to the body. I lay the cuff right side up on the cutting table, then lay the body of the case right side down and pin a few spots.


If it is, I go ahead and do the "roll up" method for the pillowcase placing the pins well away from the edge of the case.
I don't want to have to stop and start to remove them and DO NOT ever run over a pin with the serger.

 |
| Yes, it's another Husqvarna! |

Back to the serger and I pin way out again and sew the top seam, right sides together, from the open side to the fold. I leave long tails of serger thread.
I'm sorry the next photo is blurry. I took this shot about 10 times and never got a clear photo. I don't know what happened to "old faithful" but she failed me on this one.
I place a pin right where the cuff meets the body of the pillowcase. I really want that join to meet.
I start at the cuff and work my way up to the top seam.


Ta-Da ~~ all done! Length of time..........less than 20 minutes and I was taking photos along the way!
