
I started at the top
3 1/2" x 12 1/2"
Left border
3 1/2" x 15 1/2"
Bottom
2" x 15 1/2"
Right side
2" x 17"
These are my measurements. I strongly suggest that you measure each side as you cut your border fabrics. I decided to make the background one colour and do the borders another.
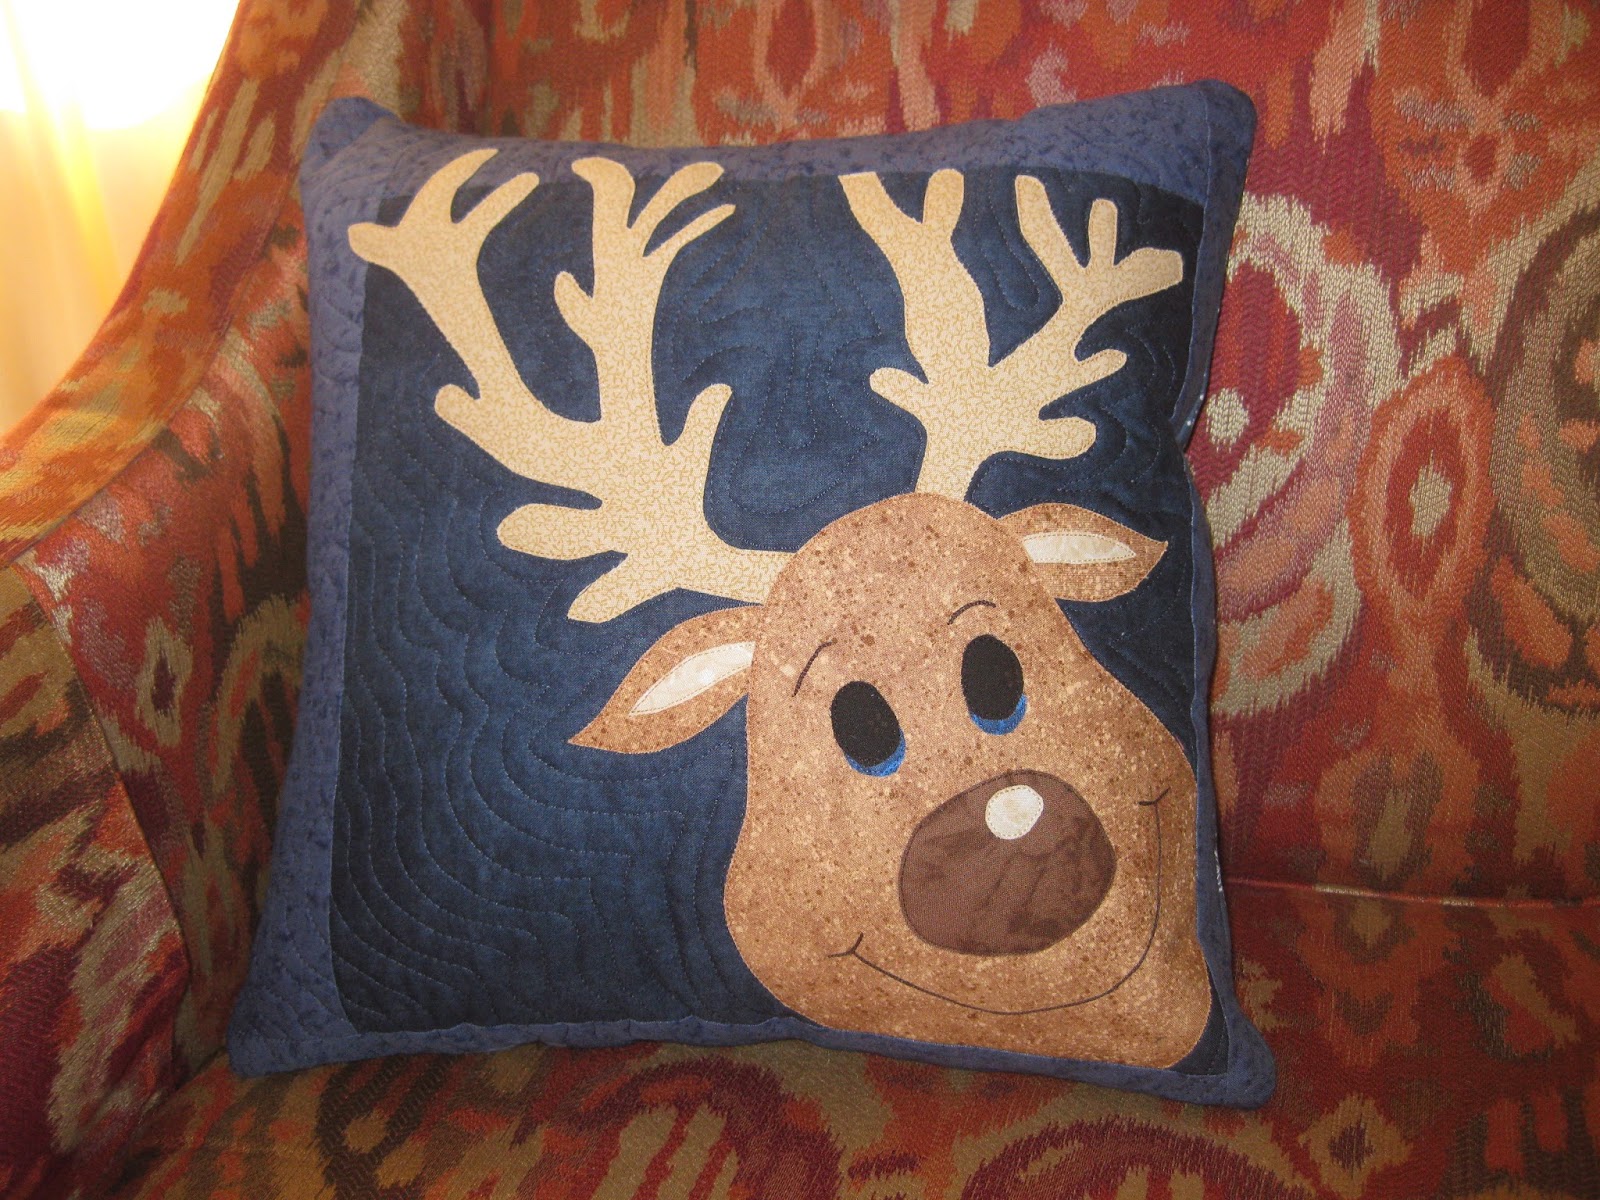
After I made the top and fused Snowflake ~~ yes, that is his/her name ~~ I had some sewing to do

I decided to do the mouth and eyebrows on the machine. I don't like doing hand embroidery through fusible web.
I decided to use Sulky 30 weight thread and sewed over the lines 4 times! I used a shortened stitch length.......1.5. I did the first line, then sewed beside that one, and if I missed an area I filled it in the third time I stitched. If you plan it properly you can do it all in one go. I did all of this before I sandwiched the top to the batting and the backing.

 I chose this beautiful variegated thread for the antlers and the other light areas. It blended beautifully!
 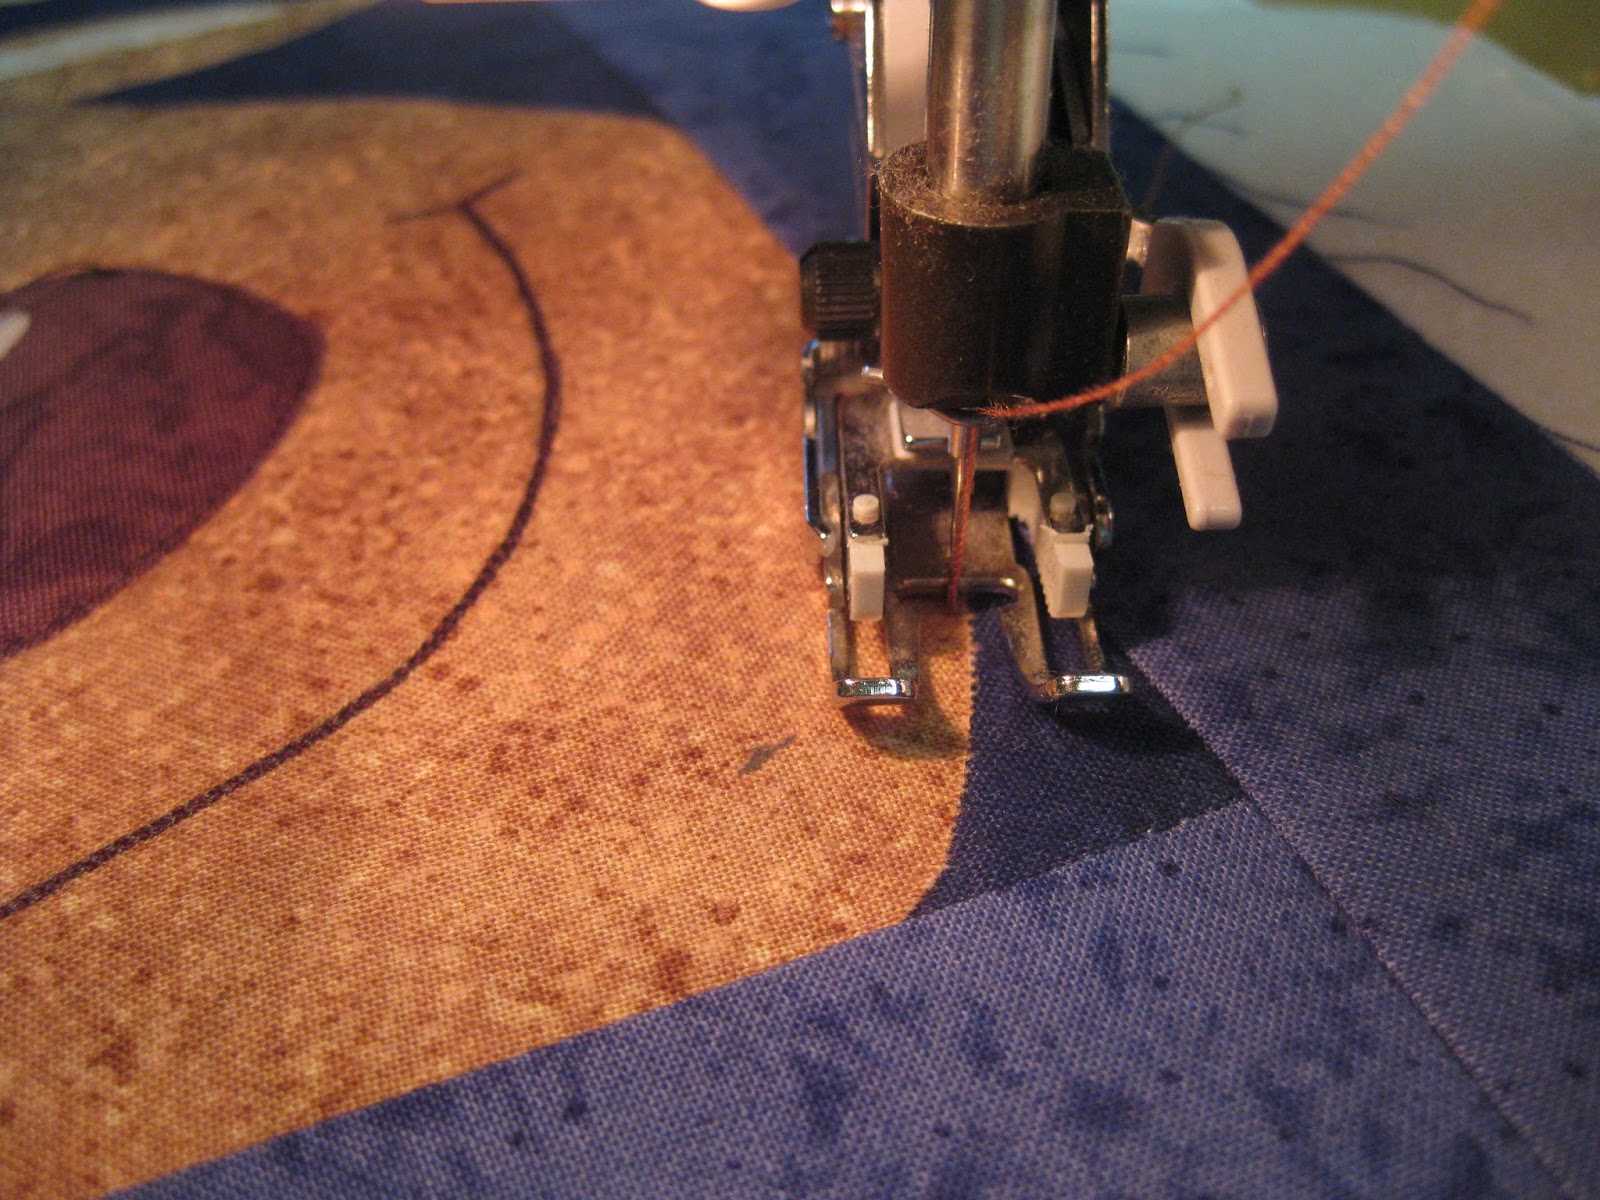 I used my walking foot and stitched as close to the edge as I could.
 I don't re-inforce the stitching. I just sew and when I am finished I pull the top thread through to the back and tie a knot.
Now right here I could say -- "quilt as desired" -- but I don't particularly care for those three words. I like to know how people quilt things, not because I'm going to do it the same way, but it gives me a starting point. Two options. One I did, and just another idea I had in mind when I stopped to think about it.
The first one you can do free motion or with your walking foot. All I did was follow the outline of the "deer" starting right beside the features and then working my way out. I've done this a lot and always like the way it turns out.


The second idea is mostly for free motion. I would start by stitching around all the fused pieces and then starting in one corner with circles and snowflakes. Something similar to this......

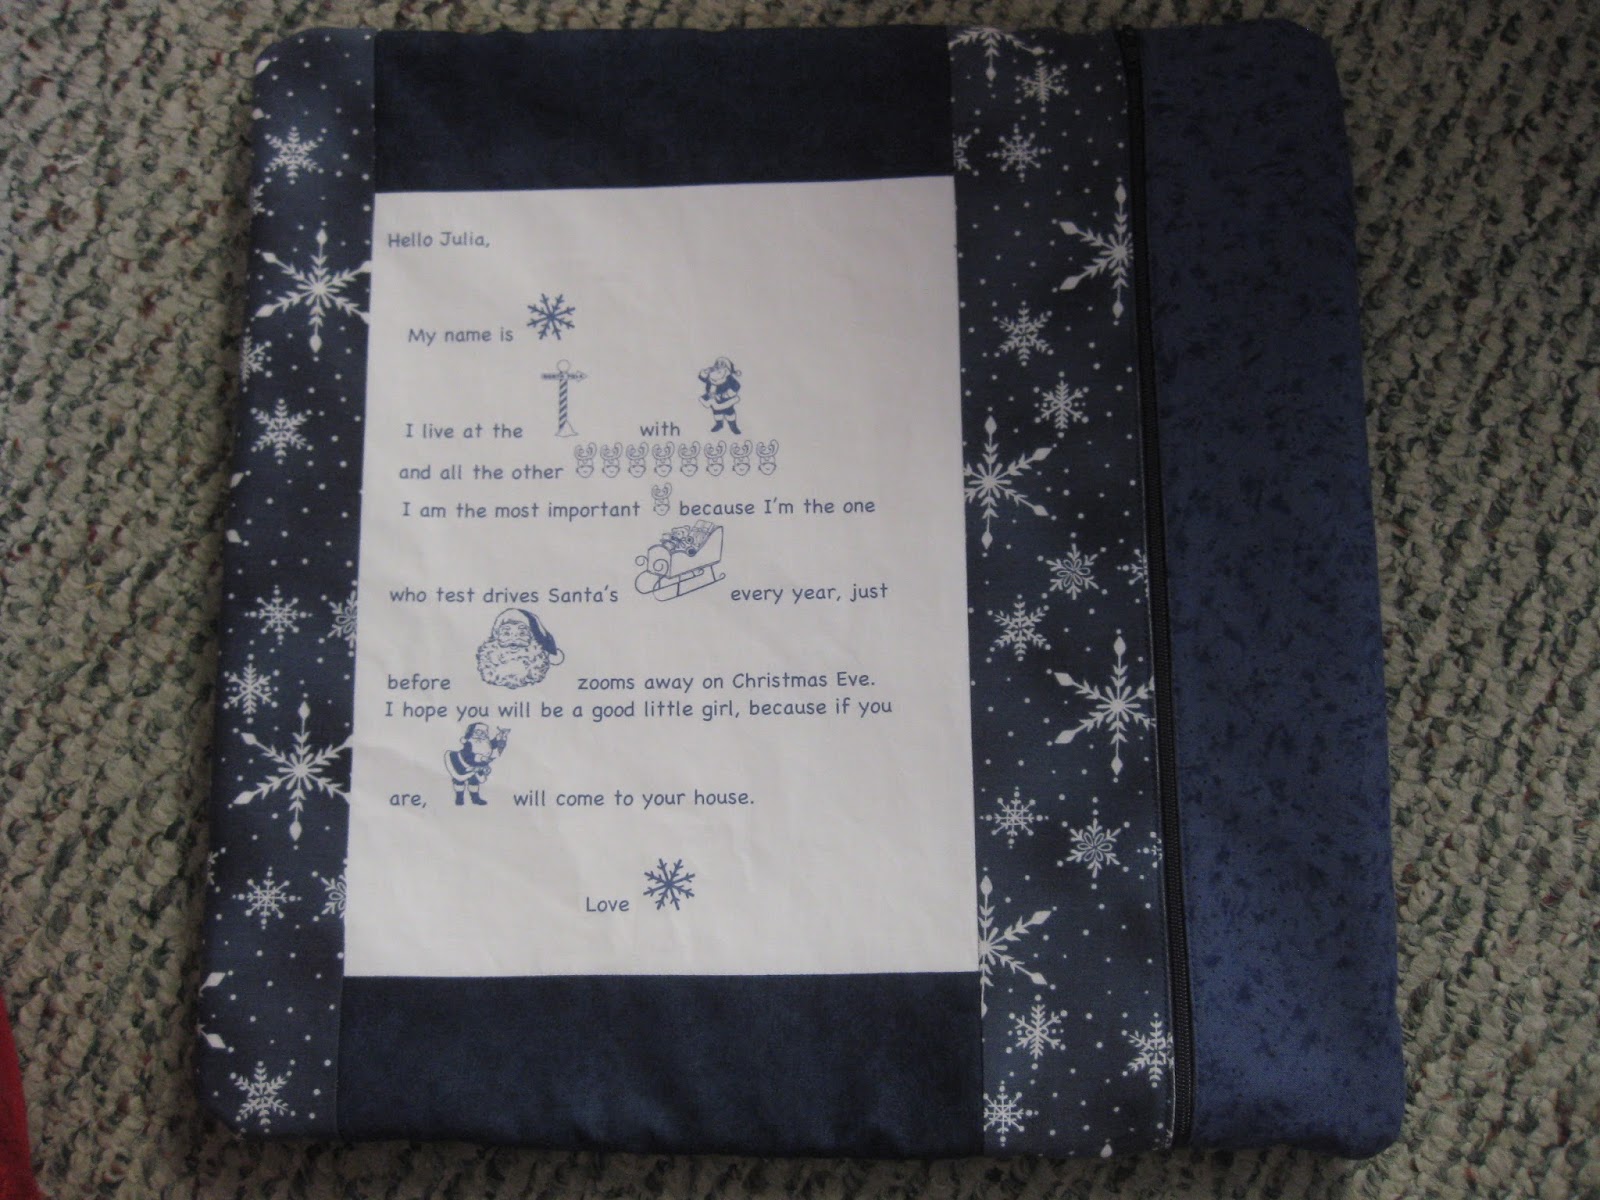
I didn't use an envelope backing. I'm not fond of them. I wrote a story about Snowflake and put that to one side of the backing, inserted a zipper and finished up the pillow.
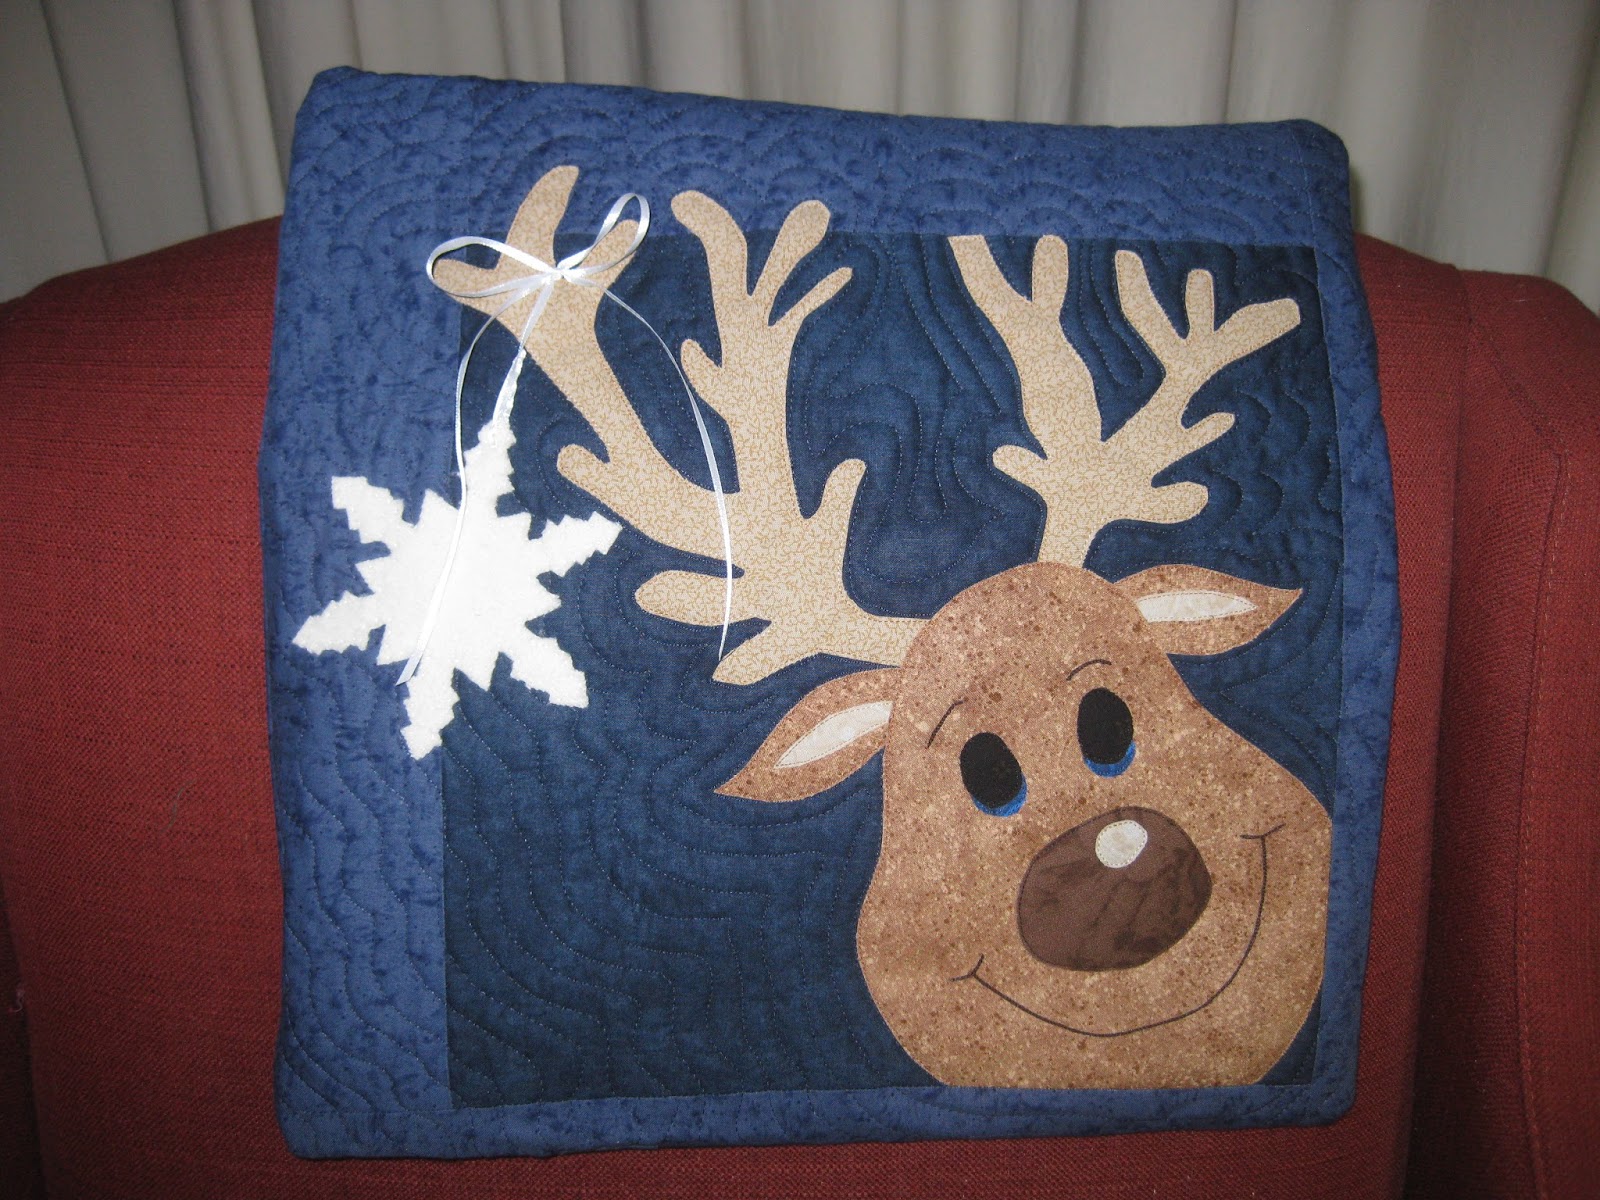
Oh and yes, that is a snowflake hanging from one of the antlers.
It is completed and I'm one gift down for Christmas 2015. This is for Julia, our wee friend who lives down the street. When the photo was taken I didn't have the snowflake but I did put a surprise on the back
The front:

 It is off centre which is okay with me and I'm sure it will be okay with Julia.
I found a great snowflake in a Debbie Mumm book I've had for awhile. Sorry that would be copyright violation if I gave it to you. I'm sure there are some out there on the internet that you could use.
The pillow(case) is in the Christmas box which I keep out year round. Now to buy the pillow form!

Don't forget, this page is print friendly. Just scroll to the b-o-t-t-o-m of this page.